-
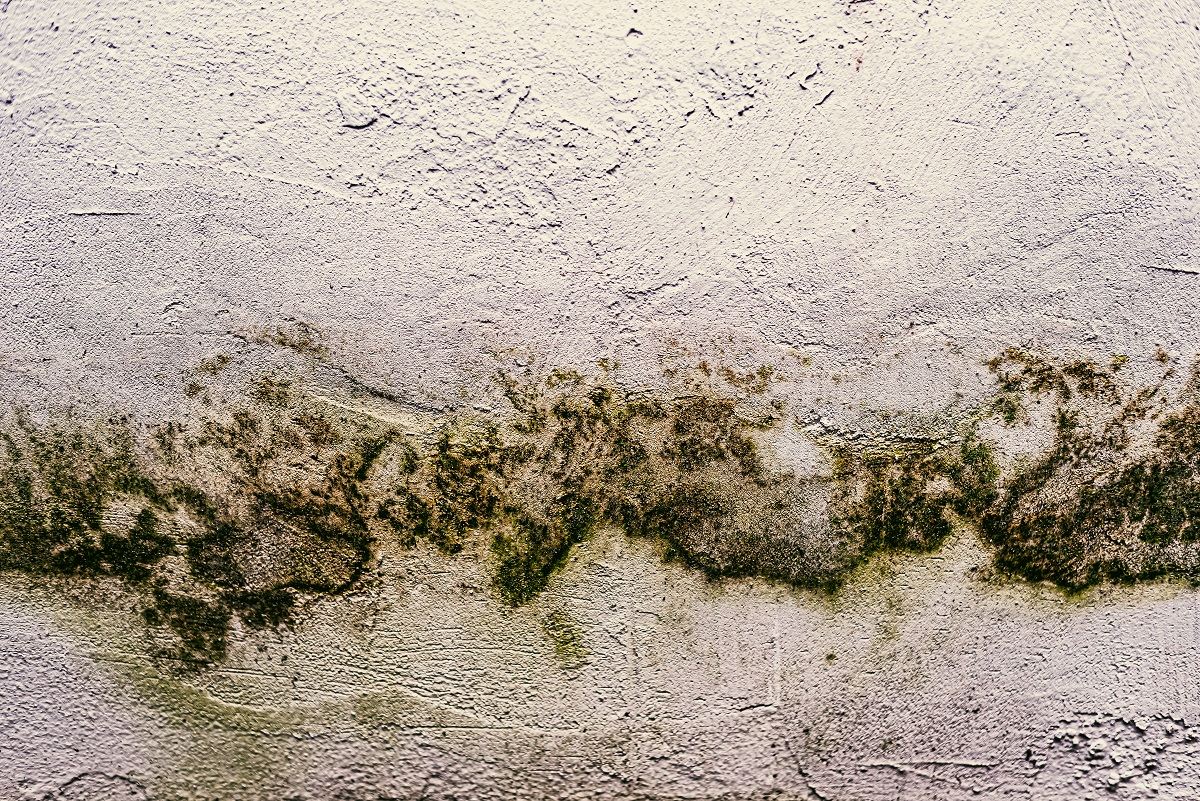
Mould indicates moisture issues: Ceiling mould often signals leaks, high humidity, poor ventilation, or condensation that need addressing.
-
Health risks are real: Exposure can cause respiratory issues, eye/nose/throat irritation, and worsen asthma or allergies.
-
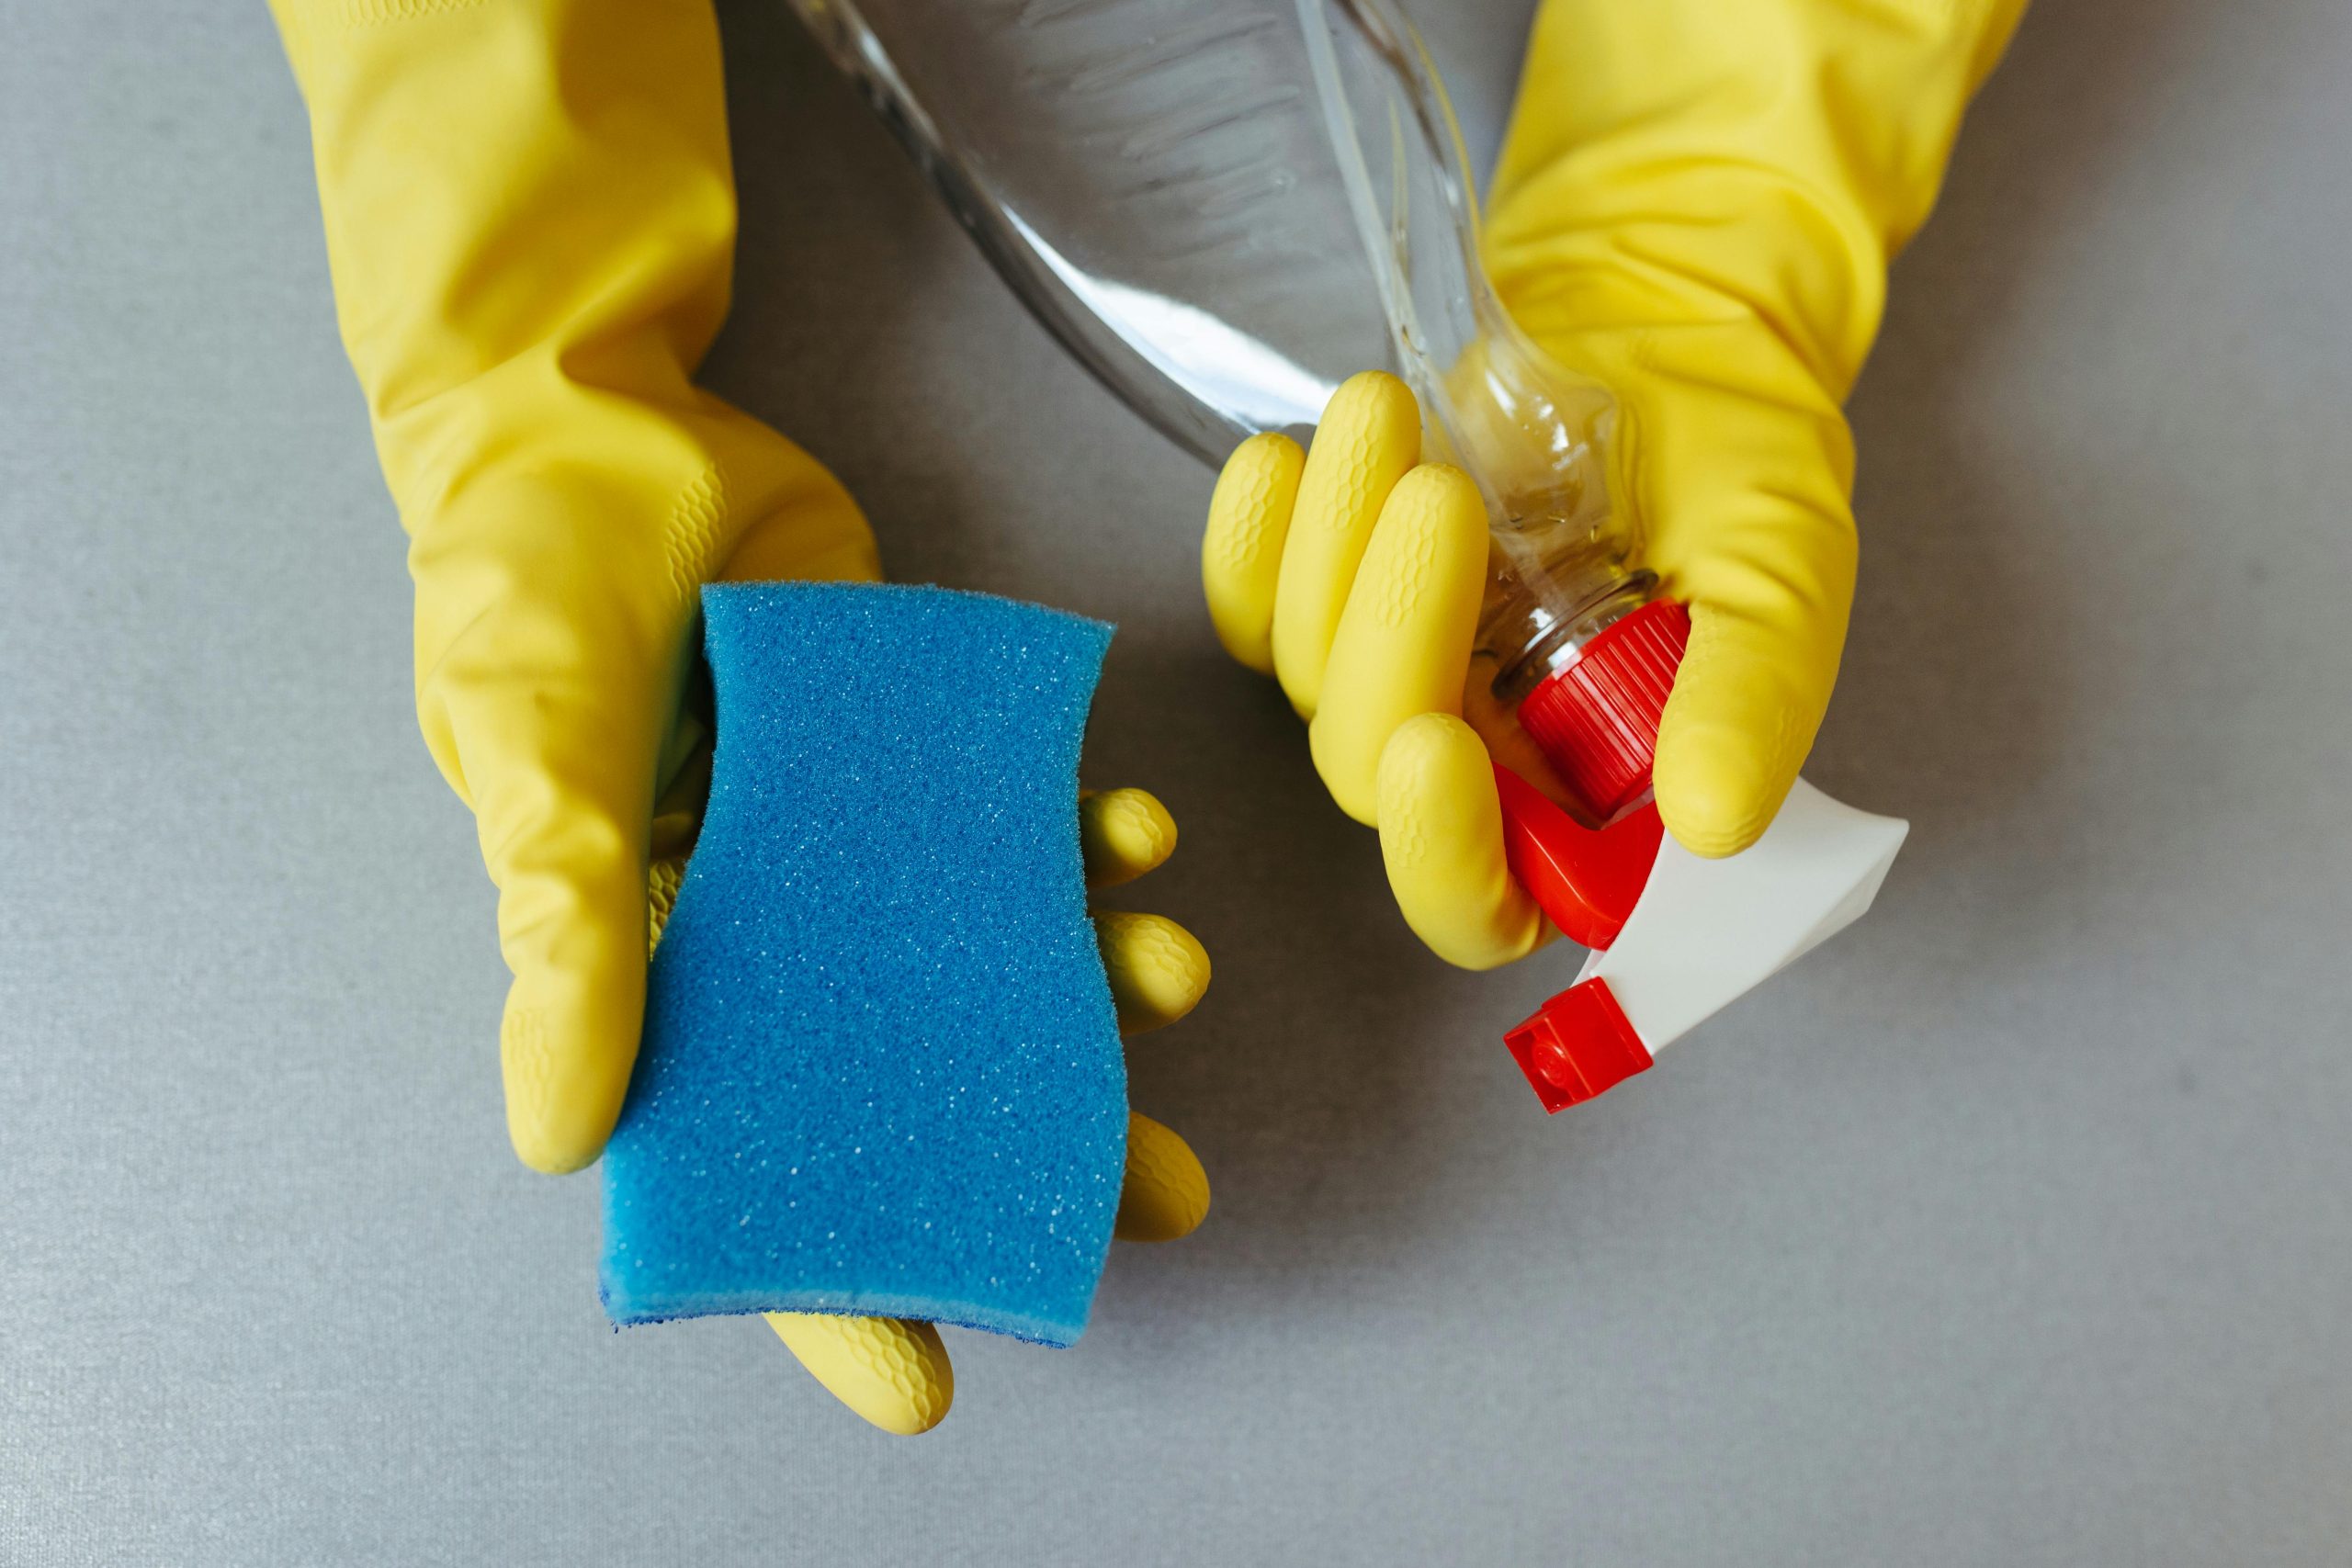
Safety first when cleaning: Always wear gloves, goggles, and a suitable mask; cover furniture and ventilate the area.
-
DIY removal is possible: Use vinegar, baking soda, or commercial mould removers with gentle scrubbing; rinse and dry thoroughly.
-
Prevent recurrence: Fix leaks, improve ventilation, control indoor humidity, insulate ceilings, and use mould-resistant paint.
-
Know when to call a professional: Large infestations, structural damage, or toxic black mould require expert intervention.
-
Regular inspection protects your home: Check ceilings seasonally or after storms to catch mould early, preserving health and property value.
Mould on the ceiling is more than just an eyesore – it can indicate moisture problems and, if left unchecked, may cause structural damage or affect your family’s health. The good news is that removing mould is doable, even if you’re not a professional. In this guide, we’ll show you exactly how to remove mould from your ceiling safely and prevent it from coming back.
Why Is Mould Growing on My Ceiling?
Mould isn’t just random—it’s a sign that your ceiling has the right conditions to thrive. Understanding why it appears can help you tackle the root cause. Ceilings in bathrooms, kitchens, or older homes are particularly susceptible because they often encounter moisture, poor airflow, or temperature fluctuations. Some common reasons include:
- Humidity: Steam from hot showers, boiling pots, or even drying clothes indoors can settle on ceilings. Over time, this moisture creates the perfect environment for mould spores to germinate.
- Leaking roofs or pipes: Even minor leaks from roofs, gutters, or plumbing can keep the ceiling damp. These hidden leaks can go unnoticed for months, allowing mould to establish itself and sometimes causing water damage underneath the surface.
- Poor ventilation: Stagnant air prevents moisture from evaporating, giving mould spores the chance to multiply. Homes with limited windows or exhaust fans, or rooms that are rarely used, often experience this issue.
- Condensation: Especially during colder months, warm indoor air can condense on the cooler ceiling surface. This moisture, although invisible at first, can feed mould growth over time.
Identifying the source of the moisture is crucial. Simply removing the mould without fixing the underlying problem is a temporary solution, and you’ll likely see the spots return within weeks.
Is Ceiling Mould Dangerous?

While some mould types are mostly harmless, many household moulds can pose health risks or cause property damage. Exposure can lead to:
- Respiratory issues: People with asthma, allergies, or sensitive lungs may experience coughing, wheezing, or difficulty breathing.
- Eye, nose, and throat irritation: Even if you’re healthy, repeated exposure to mould spores can irritate your mucous membranes.
- Structural damage: Mould can degrade paint, plaster, timber, and even ceiling panels if left untreated.
Ceiling mould can also be an indicator of bigger problems, such as a leaking roof or faulty plumbing. Addressing it promptly not only protects your health but also prevents costly repairs in the future.
What Supplies Will You Need to Remove Ceiling Mould?
Before you start, it’s important to gather the right tools to make the job safe and efficient. Here’s a full checklist:
- Protective gloves and goggles: Prevent skin contact and protect your eyes from spores and cleaning solutions.
- Mask or respirator: Essential for filtering mould spores from the air. N95 or P2-rated masks are recommended.
- Plastic sheeting: Protect floors, furniture, and fixtures from drips and debris.
- Step ladder: Helps you reach the ceiling safely.
- Soft scrubbing brush or sponge: Gentle enough to avoid damaging paint or plaster.
- Spray bottle: Useful for applying your cleaning solution evenly.
- Cleaning solutions: Choose one based on your preference:
- White vinegar (safe, non-toxic, and effective)
- Baking soda solution (gentle and affordable)
- Commercial mould remover (for stubborn or large infestations)
Optional items include a mild detergent for tough stains and a fan or dehumidifier to ensure the area dries thoroughly after cleaning.
How to Remove Mould from Ceiling Step by Step
Here’s a practical approach that balances safety with effectiveness:
1. Protect Yourself and Your Home
Mould spores can irritate your skin, eyes, and lungs. Before touching the ceiling:
- Wear gloves, goggles, and a suitable mask
- Cover furniture and floors with plastic sheeting
- Open windows or use ventilation fans if possible
This prevents spores from spreading and keeps your home clean.
2. Identify the Extent of the Mould
Carefully examine your ceiling to understand the severity of the infestation. Mould may appear as:
- Black, green, or brown spots
- Bubbling, peeling, or discoloured paint
- Soft or sagging plaster indicating underlying water damage
Knowing the full extent will help you tackle it effectively.
3. Apply Your Cleaning Solution
- Vinegar method: Spray white vinegar directly onto the mouldy spots and leave it for at least an hour to penetrate the spores.
- Baking soda method: Mix 1 teaspoon of baking soda with 500ml of water, shake well, spray, and leave for 10–15 minutes.
- Commercial products: Follow the manufacturer’s instructions closely for best results.
Letting the solution sit helps break down mould and makes it easier to remove.
4. Scrub Gently
Use a soft brush or sponge to remove the mould. Work in small sections, rinsing the brush frequently. Avoid vigorous scrubbing that could damage paint, plaster, or ceiling panels.
5. Rinse and Dry
After cleaning:
- Wipe the area with a damp cloth to remove residues
- Dry completely using a fan, dehumidifier, or by opening windows
Mould thrives in moisture, so thorough drying is essential to prevent regrowth.
6. Inspect and Repair
Once clean:
- Check if paint, plaster, or ceiling panels need repair
- Consider repainting with mould-resistant paint
- Ensure the moisture source has been addressed to prevent recurrence
Can You Remove Ceiling Mould Without Chemicals?
Yes. Natural methods can be very effective for small to medium infestations. Popular options include:
- Vinegar: Non-toxic, cheap, and effective
- Baking soda: Gentle and safe for families and pets
- Tea tree oil: Expensive but has antifungal properties
These methods are ideal if you want to avoid harsh chemicals, especially in homes with children or pets.
How Do You Prevent Mould from Coming Back?

Removing mould is only half the battle. To stop it from returning, you need to control the factors that allow it to thrive. Here are some detailed strategies to keep your ceiling mould-free:
1. Improve Ventilation
Good airflow is essential for preventing moisture buildup. Without proper ventilation, damp air lingers and mould spores multiply. To improve ventilation:
- Install exhaust fans in bathrooms and kitchens and use them whenever you shower, bathe, or cook.
- Open windows and doors regularly to allow fresh air to circulate. Even a few minutes can reduce moisture levels.
- Use ceiling fans to increase airflow in rooms prone to dampness.
- Consider whole-house ventilation for homes with persistent humidity problems, such as heat-recovery ventilators (HRVs) which exchange indoor air for fresh outdoor air efficiently.
2. Fix Leaks Promptly
Leaks provide a constant source of moisture for mould. Even small drips can cause growth over time. To prevent this:
- Check your roof regularly for broken or missing tiles, damaged flashing, or signs of water penetration.
- Clean and inspect gutters at least twice a year to ensure water flows away from your home’s structure.
- Inspect plumbing for leaks under sinks, in bathrooms, and around laundry areas. Early detection can prevent mould before it spreads.
- Address condensation from pipes by insulating cold water pipes or venting hot water areas properly.
3. Control Indoor Humidity
Mould thrives in humid conditions, so keeping indoor humidity in check is essential. Some practical steps:
- Use dehumidifiers in damp areas like bathrooms, laundry rooms, or basements. Aim to maintain humidity below 60%.
- Air-condition during humid months to remove excess moisture from indoor air.
- Avoid drying clothes indoors without ventilation, as this increases humidity levels.
- Monitor humidity with a hygrometer to detect problem areas before mould appears.
4. Insulate Ceilings
Condensation on ceilings often occurs when warm, moist air meets a cooler surface. Insulating your ceiling reduces this risk:
- Install ceiling insulation in roof cavities to help maintain a more consistent temperature.
- Check roof ventilation to prevent trapped warm air from creating condensation pockets.
- Use reflective insulation or thermal barriers in older homes, especially in areas with high humidity or during colder months.
5. Regular Cleaning and Maintenance
Routine cleaning can prevent mould spores from settling and multiplying:
- Wipe down ceilings in kitchens, bathrooms, and laundry areas regularly with a damp cloth or mild cleaning solution.
- Check hidden areas like ceiling corners, behind light fittings, or near air vents for early signs of mould.
- Repaint with mould-resistant paint in problem areas to create an additional barrier against growth.
- Keep furnishings away from walls and ceilings to allow airflow behind cupboards or cabinets in humid spaces.
Extra Tip: Seasonal Mould Prevention
- Winter: Condensation is more common during cold months. Use a dehumidifier and keep heating consistent.
- Summer: High humidity can promote mould growth. Keep windows open or use air-conditioning.
- Rainy seasons: Inspect the roof and gutters after storms for leaks or water damage.
By combining these strategies, you can drastically reduce the likelihood of mould returning, keeping your ceiling and home safe and healthy.
When Should You Call a Professional?
DIY works for small patches, but professional help is recommended if:
- Mould covers a large area (more than 1 square metre)
- There’s significant water damage or structural problems
- Toxic black mould (Stachybotrys) is suspected
- Family members experience severe allergic reactions or respiratory issues
Professionals can safely remove mould, repair damage, and prevent recurrence by addressing the underlying cause.
Common Mistakes to Avoid When Removing Ceiling Mould
Even simple DIY projects can go wrong. Avoid these pitfalls:
- Ignoring the moisture source: Mould will return if the problem isn’t fixed
- Using bleach on porous surfaces: Bleach may not penetrate plaster or timber effectively
- Scrubbing too hard: Can damage ceilings and spread spores
- Skipping protective gear: Increases the risk of irritation or respiratory problems
- Not drying thoroughly: Any residual moisture encourages regrowth
How Often Should You Inspect for Ceiling Mould?
Regular inspection is key to catching mould early. Check:
- After heavy rain or storms for leaks
- Every few months in bathrooms and kitchens
- During seasonal changes when condensation levels rise
Early detection keeps repairs small, inexpensive, and less stressful.
Can Mould Affect Home Value?
Yes. Mould damage can deter potential buyers and may require professional remediation before selling. By removing mould promptly and addressing the source, you protect your home’s value and make it safer for your family.
Final Thoughts: Take Action Before It’s Too Late
Mould on your ceiling is a sign that moisture is getting out of control. Ignoring it can lead to structural damage, health issues, and costly repairs. By following these steps, you can remove mould effectively and prevent it from coming back:
Remember, prevention is always easier than repair. Regularly inspect your ceilings, improve ventilation, and act quickly at the first sign of mould. Doing so will save you time, money, and stress in the long run.